 |
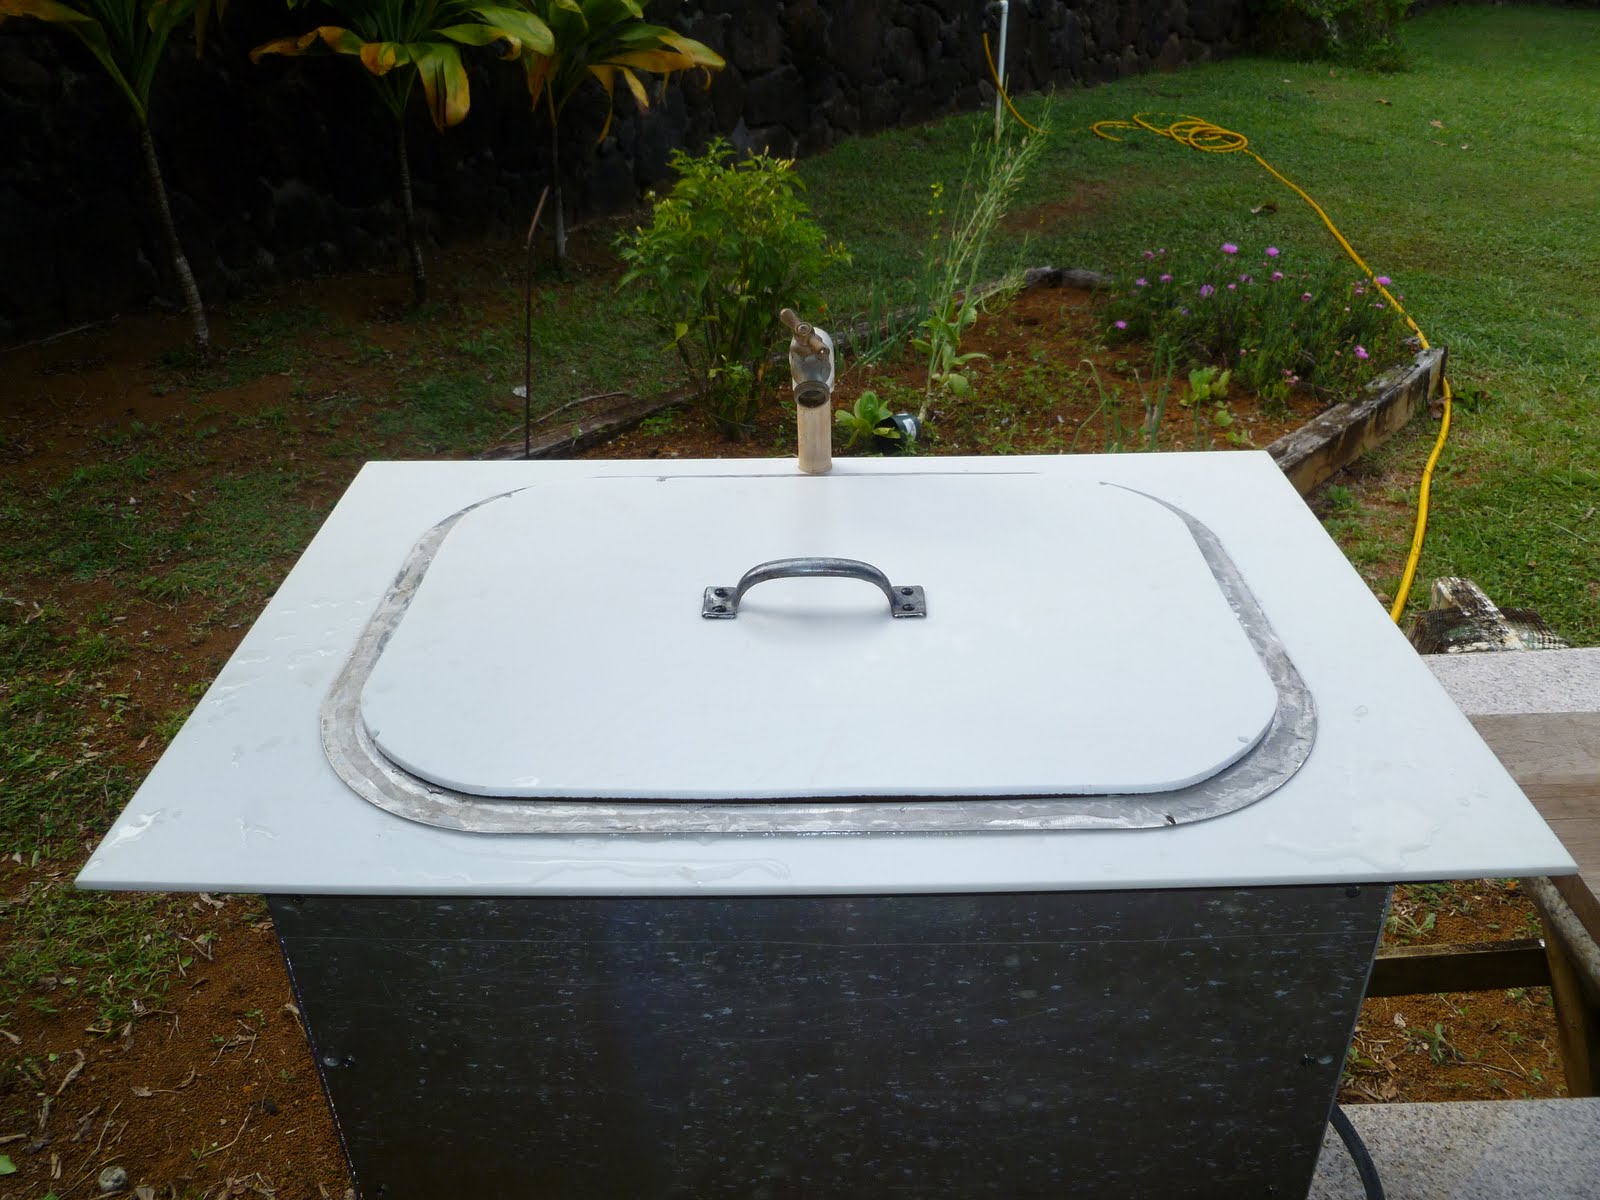
| Braddah Charlie's Portable Fish Cleaning Sink (All photos in this post courtesy of Silas K. Aqui) |
Ah, the ingenuity of the local island boy!
My brother, Charlie, has for some time now wanted to build an outdoors fish cleaning sink. He's been great about not burdening Mom or other family members with the burden of cleaning the abundant amounts of fish he catches.
But his good intentions cannot eliminate the often overwhelming AROMA DE LA MER, shall we say, that permeates the household and can seriously damper one's appetite. Besides, there's nothing like preparing for dinner and seeing fish guts in the kitchen sink.
So, true to the process of invention, the irritating grain of sand in Charlie's oyster shell catalyzed his creative juices to the point where he could no longer procrastinate. The idea that had been germinating in his mind for years finally came to fruition.
And here is the result.
Come on in, Charlie. I'll ask Andrea, the "local girl" barista at the International District Starbucks to make you a venti soy latte while you share your story with all of the Hawaiian Odysseus family.
Once again, folks, here's my favorite guest blogger, Charlie!
Aloha, everyone!
First of all, I built an ipe (Brazilian Walnut) wood frame that would support a 21" wide by 15.75" deep stainless steel sink with a 9" bowl depth. The frame was fastened with stainless steel finish screws.
Next, I fashioned a countertop from a 30" wide by 21" deep by 1/4" thick Corian oil splash. The countertop was glued to the frame with liquid nails. A similar procedure for the sink followed, this time using 100% silicone.
The Corian cutout for the sink had a handle installed and used as a cover. Since the sink sits under a tree, this cover keeps leaves, twigs, and other objects from soiling or--worse yet--damaging the sink.
After installing the countertop and sink, the frame felt a little shaky, like it needed bracing. I had this old 1/4" highway sign, so I ripped it 11.5" and screwed it around the perimeter of the frame with stainless steel screws. That did the trick!
I then installed a spigot. If you look at the second picture below, you can see that on the bottom of the spigot, I added a male tread to accept a washing machine hose which has two female ends. This way, I can get my water supply from either a garden hose or a spigot.
Next, I installed a drain and ran a PVC to the garden, capping the PVC at the end.
I then drilled holes on the sides of the capped PVC, added irrigation hoses, and led them to the plants.
That concludes my account of how I put this project together.
Aloha, folks!
Aloha, Charlie! And mahalo for taking time to share with all of us--in words and images--this wonderful and innovative invention.
What's really neat about this particular project is its GREEN features. I like the idea that the fish entrails, blood, scales, and other waste products eventually end up in our mother's garden, thus providing the soil with natural fertilization.
If there are any drawbacks--and I'm kidding here, folks--there may be two distinct possibilities. Charlie may end up having every stray cat in the neighborhood as backyard patrons, not unlike the way I frequent the coffee shops. Secondly, our mother's vegetables may be too big for her cookware.
We invite you to peruse through and enjoy the following images.


Mahalo Joe! I love it!
ReplyDelete